
How can I make Revit Schedules look the way I’d like them to look? I hear this question a lot. In Revit 2014 there are a couple new options. You’ve been able to change the font in past versions, but now you can now add an image in a schedule, and shading of columns is also possible. I’ve listed a couple How To’s for you to try.
To shade a column in a schedule:
- Open your schedule for editing, select the column header, and a new panel on the toolbar will appear.

- Select shading and the color, and that color will be added to the column.

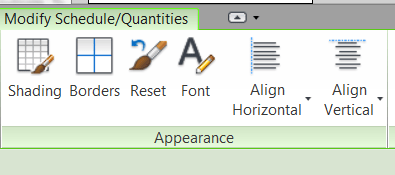
*this would be ideal for schedule with a lot of columns making it easier to read.
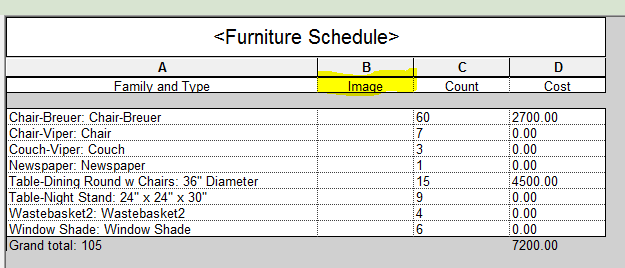
Another Option is adding an image to your schedule.
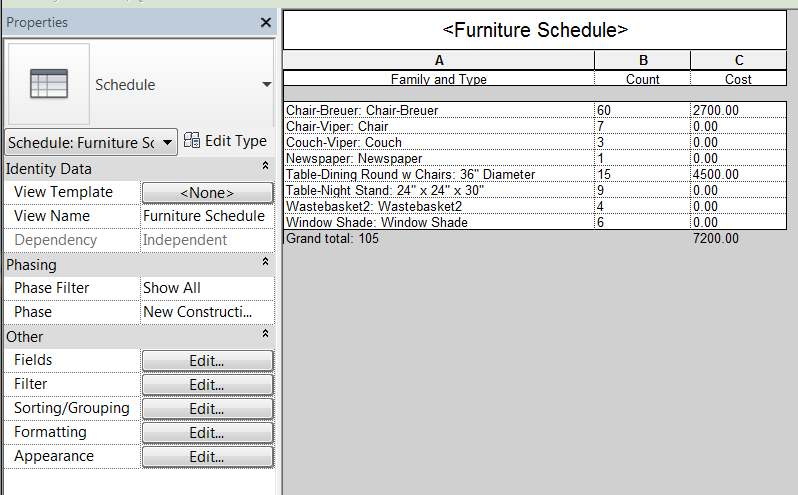
- Open your schedule and go to properties. Select Edit Fields in your Properties and another window will open up.

- In this window under Available Fields select the Image parameter and Add it to Scheduled Fields. Select OK.

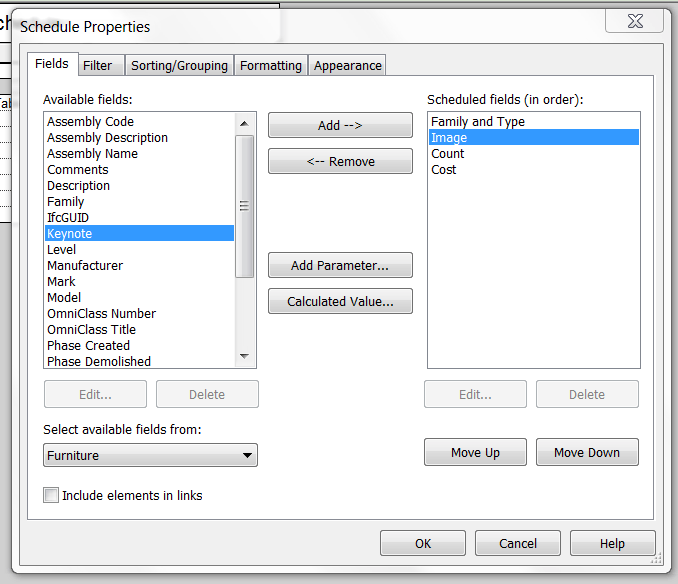
- Now the Image column has been added to your schedule.

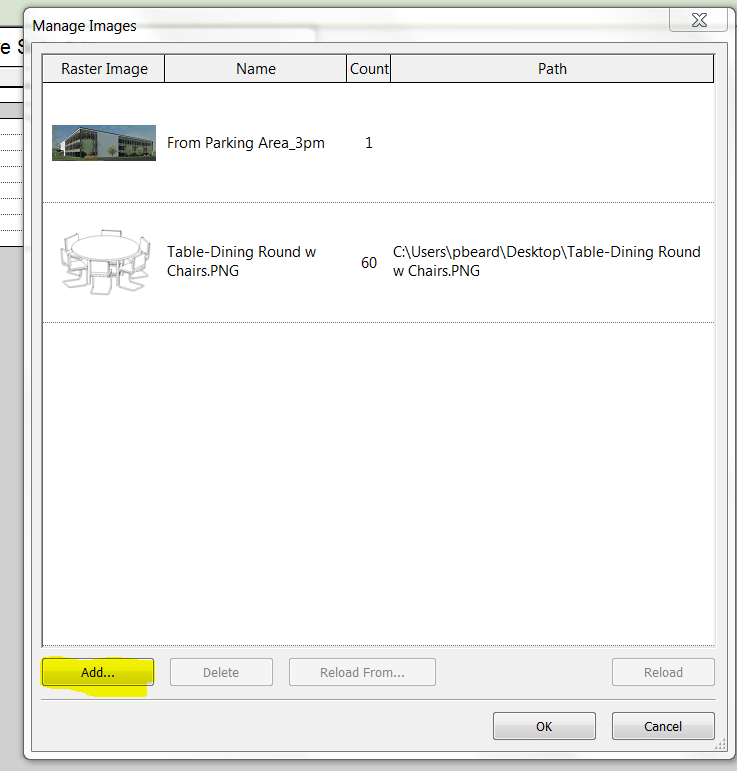
- Select in the Image Field and you will see a little box. Select the box to add your image.
- Another window will pop up. Select Add, choose your image and select OK. Select OK again to add it to schedule.

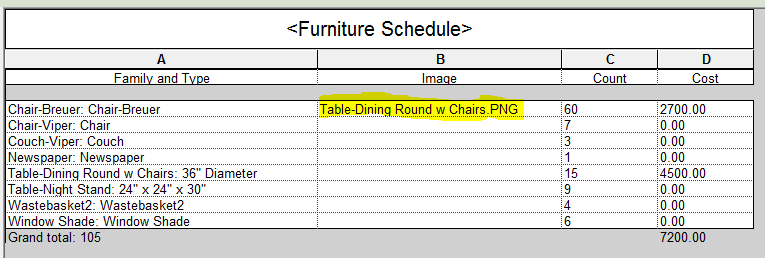
- In the schedule you can see the image name that you just added but you cannot see the image until you put it on a sheet.

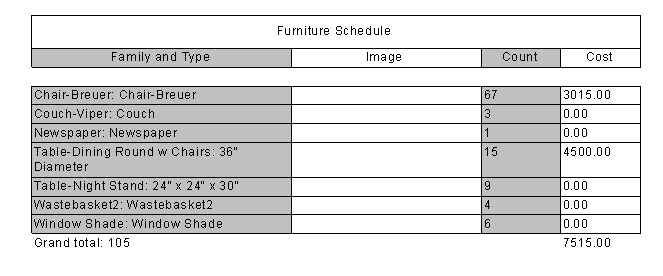
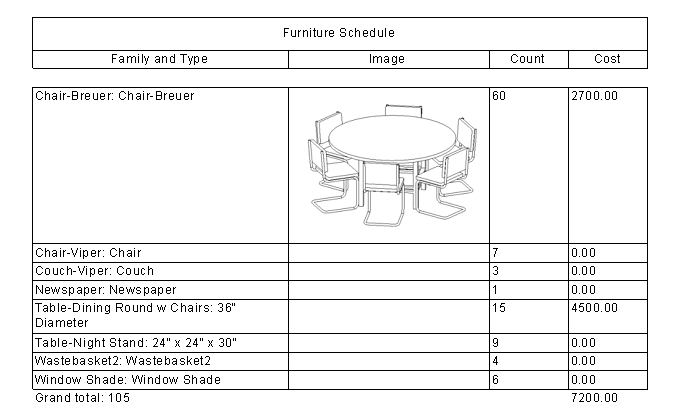
- Create a new sheet and drag schedule onto the sheet. You will now be able to see the image in the schedule.

Leave A Comment