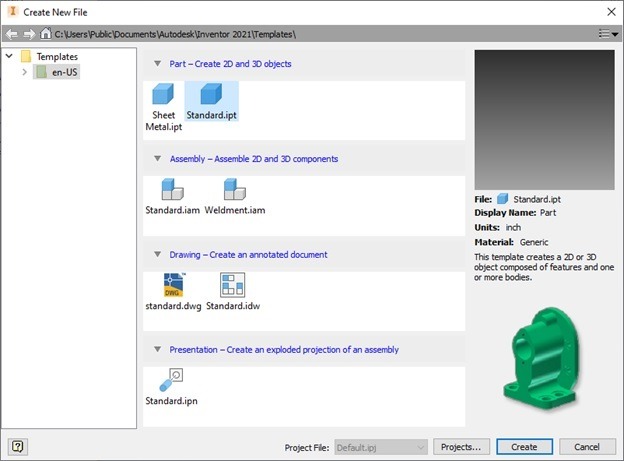
This will be a quick explanation on the different options when creating a new file in Autodesk® Inventor. Once Inventor is open, there are the typical options of starting a new project or opening an existing one. This article addresses the standard templates within the “Create New File” popup after clicking the “New” button. There will be additional options for templates, once you open the “en-US” folder on the left, but the standard templates will probably cover the majority of your needs. It is also possible to make your own custom templates, but that will not be covered in this article.
Part Files
There are a few different standard templates, but if you are new to Inventor, you probably need to start with part files.
There are two types of part files: Sheet Metal and Standard.
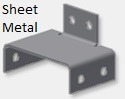
The Sheet Metal template is specifically for when you are making parts from formed sheet metal and includes specific commands geared toward making sheet metal parts. (Not available in Inventor LT.)
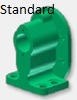 The Standard template pretty much does everything, whether the part file is for a raw cast part or a machined finished part; it even has a “Convert to Sheet Metal” feature.
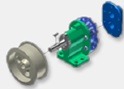
Assembly Files
Once you get a few part files, you may continue onto an assembly of these part files.
There are a couple options here as well: Standard and Weldment.
 Like with the part files, the “Standard” template does everything you might need. (Not available in Inventor LT.)
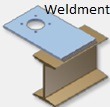 The “Weldment” is for when you have multiple parts joined by welding and you need to include that welding information. (Not available in Inventor LT.)
Drawing Files
 To accompany all the other files, you would also need a drawing file.
The options here are essentially just file format options: DWG or IDW.
Presentation Files
 If you work in assemblies and you want to create animations or exploded views, you would use the Presentation template.
*Not available in Inventor LT
Leave A Comment