
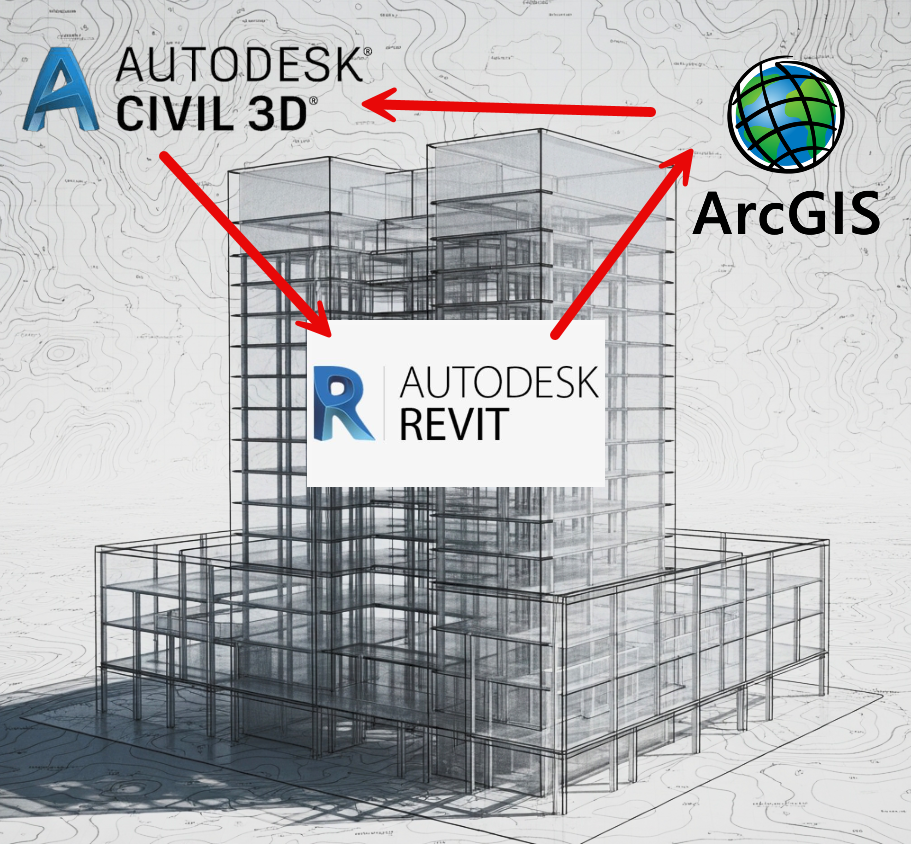
In the world of AEC and geospatial, getting your models to “talk” to each other flawlessly can feel like a dark art. But when it comes to coordinating between design, construction, and GIS, precise spatial alignment is non-negotiable. This post will walk you through a foundational, yet often overlooked, workflow: successfully transferring coordinates from an Autodesk Civil 3D model into Autodesk Revit for clash detection and model coordination, and then leveraging that data in ESRI ArcGIS for broader spatial analysis.
Let’s demystify the process!
Why is This So Important?
Imagine a new building project. Your civil engineers are designing site grading and utilities in Civil 3D, while architects and structural engineers are developing the building in Revit. Without a shared coordinate system, your beautiful building might end up floating in space, buried underground, or completely misaligned with existing infrastructure. Add ArcGIS to the mix for master planning, environmental impact assessments, or public utility management, and the need for a cohesive coordinate system becomes paramount.
The goal is to ensure that “point 0,0,0” in your Revit model aligns perfectly with its real-world survey coordinates, and that your Civil 3D site matches that same real-world location.
Step 1: Establishing the Ground Truth in Civil 3D
Civil 3D is your starting point for real-world coordinates. This is where your survey data lives and where your project’s true north and elevation are defined.
- Understand Your Coordinate System: Before you do anything, know your project’s coordinate system (e.g., State Plane, UTM). This is crucial and will dictate how you set up your files.
- Define Your Survey Point: In Civil 3D, your design should be built to real-world coordinates. This means your model elements reflect their actual X, Y, and Z values on the earth.
- Establish a Base Point (Optional but Recommended): For large projects, or if you’re dealing with very large coordinates, it’s often helpful to define a “local” base point within Civil 3D that is still tied to the real-world system but makes working with smaller numbers easier for a localized area. You can then translate back to real-world coordinates for export.
Step 2: Bringing Civil 3D Data into Revit for Coordination
This is where the magic (and sometimes the headaches) happen. The key is to establish a shared coordinate system within Revit that aligns with your Civil 3D data.
- Link the Civil 3D File (DWG):
- In Revit, go to the “Insert” tab and select “Link CAD.”
- Navigate to your Civil 3D DWG file.
- Crucial Setting: Under “Positioning,” select “Auto – By Shared Coordinates.” This tells Revit to try and align the DWG based on a shared system. If this doesn’t work perfectly the first time (it often doesn’t if shared coordinates haven’t been established), you might start with “Auto – Origin to Origin” and then manually align.
- Ensure “Current View Only” is unchecked so the link appears in all views.
- Acquire Coordinates from Civil 3D:
- Once the DWG is linked, go to the “Manage” tab in Revit, then “Coordinates,” and select “Acquire Coordinates.”
- Click on the linked Civil 3D DWG file. Revit will now “learn” the coordinate system from the DWG.
- Verify: Check your Survey Point and Project Base Point in Revit. They should now reflect real-world coordinates that align with your Civil 3D file. Your Project North should also align with True North from the Civil 3D file.
- Publish Coordinates (Optional but Good Practice): If you have multiple Revit models (e.g., architectural, structural, MEP) that need to be coordinated, you can “Publish Coordinates” from your “master” Revit model (often the architectural model) to other linked Revit models. This ensures everyone is working on the same coordinate system.
Step 3: Exporting from Revit for ArcGIS Integration
Now that your Revit model is georeferenced, getting it into ArcGIS is straightforward.
- Export to DWG (with Georeferencing):
- In Revit, go to “File” > “Export” > “CAD Formats” > “DWG.”
- In the DWG Export dialog, click on the “…” button next to “Select Export Setup.”
- Create a new export setup (or modify an existing one). Under the “Units & Coordinates” tab, make sure “Shared” is selected for the coordinate system. This tells Revit to export the DWG using the acquired real-world coordinates.
- Complete the export.
- Import into ArcGIS Pro (or ArcMap):
- Open ArcGIS Pro.
- From the “Map” tab, select “Add Data.”
- Navigate to your exported DWG file.
- Crucial Step: When adding the DWG, ArcGIS will usually recognize the georeferencing information embedded in the file. Ensure the correct coordinate system is applied to your map frame if it doesn’t automatically detect it.
- You can now see your Revit model accurately placed on your map, alongside other GIS data like aerial imagery, parcels, or utility networks. You can convert the CAD data to geodatabase features for more robust analysis.
Tips for Success:
- Communication is Key: Talk to your Civil 3D, Revit, and GIS teams. Understand their workflows and what coordinate systems they are using.
- Establish a Project Standard: Define a clear standard for coordinate systems and base points at the project’s outset.
- Test Early and Often: Don’t wait until the last minute to test your coordinate transfer. Do a small test run early in the project lifecycle.
- Clean Up Your DWG: Before linking to Revit, ensure your Civil 3D DWG is relatively clean and only contains necessary information. Large, complex DWGs can cause performance issues in Revit.
- Know Your Units: Be consistent with units across all platforms (e.g., feet, meters).
By following these steps, you can bridge the gap between design, construction, and geospatial analysis, creating a truly coordinated and spatially intelligent project. Happy modeling! Contact us for your workflow questions!
![]()
Leave A Comment