
Tired of Tracing? Let Dynamo Build Your Walls for You!
Hey Revit rockstars! Ever found yourself staring at a crisp 2D DWG background, knowing you have to manually trace every single wall to kick off your new project? You’re not alone. It’s a rite of passage for many, but let’s be honest, it’s about as exciting as watching paint dry… very, very slowly.
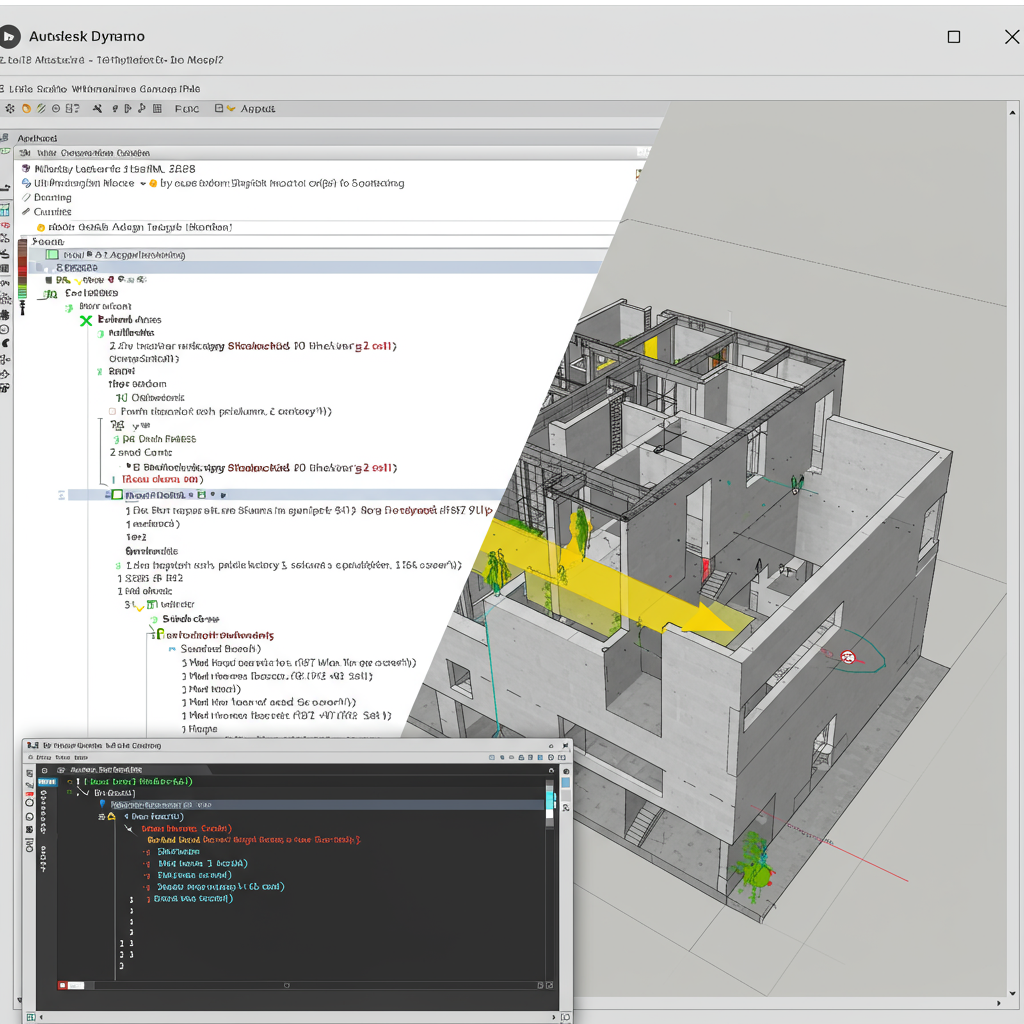
But what if I told you there’s a magical tool that can turn those boring lines into actual Revit walls with just a few clicks? Enter Autodesk Dynamo, your new best friend in the world of architectural automation!

The Painful Past: Manual Tracing
Imagine this: You’ve got your beautiful 2D floor plans from the architect, perfectly linked into Revit. Now, it’s time to model. You zoom in, select the Wall tool, pick your wall type, set your height, and then… click, click, click, click, click. You trace line after line, trying to be precise, hoping you don’t miss a corner or accidentally snap to the wrong object. Then you realize you picked the wrong wall type for half the building, and it’s back to square one. Sound familiar?
This manual process isn’t just mind-numbingly boring; it’s also:
- Time-Consuming: Especially on large projects.
- Prone to Errors: Mis-clicks, misalignments, and inconsistent wall types are common.
- A Productivity Killer: Your valuable brainpower should be focused on design, not digitizing.
Enter the Hero: Dynamo!
Dynamo is a visual programming environment that works hand-in-hand with Revit. Think of it as a super-smart robot builder you can “teach” to perform repetitive tasks. Instead of writing complex code, you connect pre-made “nodes” (little blocks of functionality) in a flowchart-like interface. It’s like building with LEGOs, but for BIM!
For our wall-building dilemma, Dynamo can:
- Read the lines from your linked DWG.
- Understand which lines represent walls.
- Automatically create Revit wall elements based on those lines, using your specified wall types and heights.
It’s like having a tireless, perfectly accurate assistant who never complains about tracing!

How Our Dynamo Wall-Builder Script Works (The Gist)
Our Dynamo script, at its core, performs a few clever steps:
- Select DWG Elements: It first asks you to pick the specific DWG lines you want to turn into walls. This is crucial because your DWG might have furniture, dimensions, or other non-wall lines.
- Extract Geometry: Once selected, Dynamo extracts the underlying geometric data from those DWG lines – essentially, it gets their start and end points and understands them as curves.
- Create Revit Walls: Armed with these curves, the script then uses powerful Dynamo nodes (often from community-contributed packages like Clockwork or Archi-lab) to tell Revit: “Hey, for each of these curves, create a wall of this type, on this level, with this height!”
Voila! Instant walls!
Setting Up Your Dynamo Script (A High-Level Peek)
While we won’t dive into every single node here (that’s for a full tutorial!), the general flow in Dynamo would look something like this:
- Input Nodes: Nodes to select DWG elements (e.g., “Select Model Elements” or “Select Model Element by ID”).
- Geometry Extraction: Nodes to convert DWG elements into usable curves (e.g., “Element.Geometry” followed by “Curve.ByObject”).
- Wall Creation Nodes: The magic happens here! Nodes like “Wall.ByCurveAndHeight” or “Wall.ByCurveAndLevel” are your go-to. You’ll also need nodes to specify the wall type (e.g., “WallTypes” and “Element.Name” to select by name) and the level.
- Output: The newly created Revit walls!
You might need to install a few extra Dynamo packages (like “Clockwork for Dynamo” or “Archi-lab”) to get some of these powerful nodes. It’s super easy to do directly within Dynamo’s Package Manager.

Using the Script in Revit: Your Step-by-Step Guide!
Ready to put this power into action? Here’s how you’d typically use a Dynamo script like this in your Revit project:
- Prepare Your Revit Project:
- Open your Revit project.
- Go to the “Insert” tab and use “Link CAD” to bring in your 2D DWG floor plan. Make sure it’s correctly positioned and pinned!
- Ensure you have the desired Wall Types already loaded into your Revit project.
- Check your Levels are set up correctly.
- Launch Dynamo (or Dynamo Player):
- Go to the “Manage” tab in Revit.
- Click on “Dynamo” to open the Dynamo interface, or “Dynamo Player” for a simpler, pre-configured script execution. (Dynamo Player is fantastic for non-Dynamo users!)
- Load the Script:
- In Dynamo Player, navigate to where your “DWG_to_Walls.dyn” (or whatever you name it) script is saved.
- If using full Dynamo, open the
.dynfile.
- Configure Inputs (if using Dynamo Player):
- Dynamo Player will show you the inputs the script needs. This might include:
- A button to “Select DWG Lines” (you’ll click this and then pick the lines in your Revit view).
- Dropdowns to choose the Wall Type you want to create (e.g., “Generic – 200mm”).
- A dropdown to select the Level on which the walls should be placed.
- A numerical input for Wall Height.
- Dynamo Player will show you the inputs the script needs. This might include:
- Run the Script!
- Click the “Run” button in Dynamo Player (or the “Run” button in full Dynamo).
- Watch the magic happen! Revit will start populating walls based on your selections.
- Review and Refine:
- Inspect the newly created walls. Are they on the correct level? Is the height right?
- You might need to adjust some wall locations or types manually for intricate areas, but the bulk of the work is done!
Pro Tips for Dynamo Wall-Building Success!
- Clean Your DWG: The cleaner your DWG, the better Dynamo will perform. Try to get a DWG where wall lines are on a dedicated layer and are continuous.
- Layer Management: If possible, ask for DWGs where different elements (walls, doors, windows) are on distinct layers. This makes selecting “only wall lines” much easier in Dynamo.
- Test Small Sections: Before running the script on an entire floor, test it on a small, simple section to ensure all inputs are correct and the output is as expected.
- Save Custom Wall Types: Make sure the wall types you want to use are already loaded into your Revit template or project.
- Iterate and Improve: As you use the script, you’ll find ways to make it even smarter – maybe adding options for structural vs. architectural walls, or even automatically placing doors and windows!
The Future is Automated!
Automating tasks like wall creation isn’t just about saving time (well, ok maybe); it’s about elevating your workflow. It frees you up to focus on design challenges, coordination, and delivering higher-quality models. Dynamo empowers you to be a creator, not just a tracer!
So, next time you face that daunting DWG, remember your new secret weapon. Dive into Dynamo, experiment, and transform your Revit workflow from tedious to triumphant!
Happy modeling!
![]()
Leave A Comment