
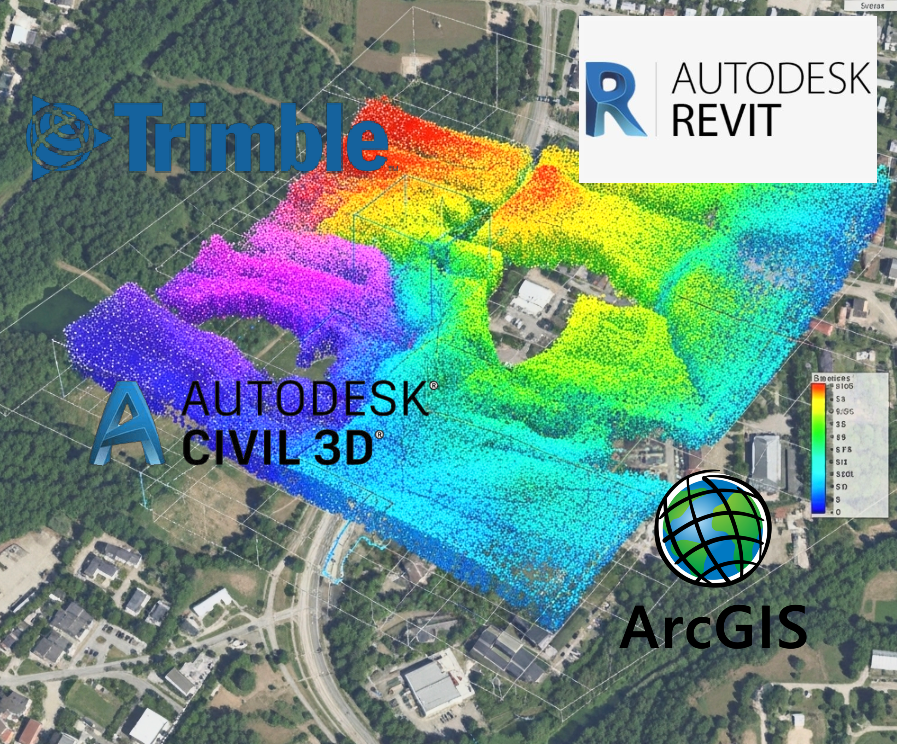
Imagine a future where you can seamlessly bridge the gap between real-world captured data and your digital design environment. With the power of a Trimble X9 scanner, Autodesk Civil 3D, Autodesk Revit, and ArcGIS, that future is now. This blog post will guide you through a comprehensive workflow, transforming raw point cloud data into actionable intelligence across your design and geospatial platforms.
The Trimble X9 3D laser scanner captures highly accurate and dense point clouds, providing a rich digital representation of existing conditions. But what do you do with millions of data points? Let’s dive into the workflow:
Step 1: Raw Point Cloud Capture with Trimble X9
The journey begins in the field with the Trimble X9. This advanced scanner offers rapid data acquisition and in-field registration capabilities, minimizing post-processing time.
- Best Practices:
- Plan your scans strategically to ensure comprehensive coverage and minimize occlusions.
- Utilize targets (e.g., checkerboard targets) for improved registration accuracy, especially in complex environments.
- Perform in-field registration checks using Trimble’s software to identify and correct any misalignments before leaving the site.
- Ensure proper georeferencing if your project requires it, by tying into known control points.
Step 2: Processing and Registration in Trimble Software (e.g., Trimble RealWorks)
Once your field work is complete, the raw scan data needs to be processed and registered. Trimble’s dedicated software (like Trimble RealWorks) is ideal for this.
- Workflow:
- Import Data: Import your raw X9 scan files (.rwcx or .rcp from the scanner directly, or individual scan files).
- Registration: Align individual scans into a single, cohesive point cloud. This can be done manually, through target-based registration, or using cloud-to-cloud algorithms. For Trimble X9, in-field registration often creates a strong starting point.
- Cleanup and Noise Reduction: Identify and remove unwanted data points (e.g., reflections, transient objects) to create a cleaner model.
- Sampling/Decimation (Optional but Recommended): For very large point clouds, consider intelligent decimation to reduce file size without losing critical detail. This is crucial for performance in downstream software.
- Georeferencing: If not done in the field, align your point cloud to a known coordinate system using control points.
- Export: Export the registered and cleaned point cloud in a format compatible with Autodesk products. The most common and recommended format is the RCP/RCS (ReCap Project/Scan) format, as it’s native to Autodesk products and optimizes performance. Other options include .pts, .e57, or .las, but these may require additional indexing in ReCap.
Step 3: Autodesk ReCap Pro – Indexing and Optimization
While Trimble RealWorks can export directly to RCP/RCS, sometimes additional optimization or direct indexing of non-Autodesk formats is needed. Autodesk ReCap Pro is the bridge for this.
- Workflow:
- Import: Open your exported point cloud (e.g., .e57, .las, or directly the .rcp from Trimble RealWorks) in ReCap Pro.
- Indexing: ReCap Pro will index the point cloud, creating the highly optimized RCP/RCS format, which is essential for smooth performance in Civil 3D and Revit.
- Segmentation/Classification (Optional): ReCap allows for basic segmentation (e.g., distinguishing ground from buildings), which can be helpful for later processing.
- Export/Save: Ensure your point cloud is saved as an RCP project.
Step 4: Autodesk Civil 3D – Terrain Modeling and Infrastructure Design
Now, the point cloud moves into the realm of infrastructure design. Autodesk Civil 3D excels at working with terrain and developing site designs.
- Workflow:
- Attach Point Cloud: In Civil 3D, navigate to the “Insert” tab and select “Attach Point Cloud.” Browse to your .RCP file.
- Create Surface from Point Cloud: This is a crucial step.
- Go to the “Home” tab, “Create Ground Data” panel, and select “Surfaces” -> “Create Surface from Point Cloud.”
- Choose your attached point cloud. Civil 3D will then generate a TIN (Triangulated Irregular Network) surface based on the point cloud data.
- Key Considerations: When creating the surface, define appropriate filters (e.g., “Ground Points” if your point cloud is classified) and surface styles to represent the terrain accurately. You may need to refine the surface by adding breaklines or boundary definitions based on the point cloud.
- Design Elements: Use the generated surface as the basis for your civil design, including:
- Grading and earthwork calculations
- Road and corridor design
- Utility layouts
- Site analysis
Step 5: Autodesk Revit – Building Information Modeling (BIM)
For building structures and architectural elements, Revit is your next stop.
- Workflow:
- Link Point Cloud: In Revit, go to the “Insert” tab and select “Link Point Cloud.” Select your .RCP file.
- Positioning: Ensure the point cloud is correctly positioned relative to your Revit model’s origin or shared coordinates. If your Civil 3D model and Revit model share a coordinate system, this will be straightforward.
- Modeling from Point Cloud: Use the point cloud as a visual reference to model existing conditions. This is invaluable for:
- Creating existing walls, floors, roofs, and structural elements.
- Verifying proposed designs against existing conditions.
- Documenting as-built conditions.
- Identifying clashes between new designs and existing structures.
- Export to NWC (Navisworks Cache – Optional but Recommended for Collaboration): For comprehensive coordination, especially between Civil 3D and Revit models, it’s often beneficial to export Revit models (and Civil 3D models with the terrain surface) to NWC format. This can then be brought into Navisworks for clash detection and model aggregation, often providing a smoother experience than directly importing complex Revit models into Civil 3D or vice-versa.
Step 6: ArcGIS – Geospatial Analysis and Visualization
Finally, bring your rich 3D data into ArcGIS for powerful geospatial analysis, visualization, and decision-making.
- Workflow:
- Export from Revit/Civil 3D to Compatible Formats:
- For Surfaces (from Civil 3D): Export the Civil 3D surface as a LandXML file. ArcGIS can directly import LandXML to create a TIN or terrain dataset. Alternatively, you can export the surface to a DEM (Digital Elevation Model) or raster format.
- For 3D Models (from Revit):
- Direct Export to RVT (if using ArcGIS Pro with Revit Add-in): ArcGIS Pro has improved capabilities to work directly with Revit models.
- Export to IFC (Industry Foundation Classes): IFC is an open standard that ArcGIS can import.
- Export to FBX or DWG (3D): These are common 3D formats that can be imported into ArcGIS Pro as multipatch features.
- Publish to ArcGIS Online/Portal (e.g., Scene Layer Package): The most efficient way to get complex 3D models into ArcGIS is to publish them as Scene Layer Packages (.slpk) from ArcGIS Pro.
- Import/Add Data in ArcGIS Pro:
- LandXML/DEM: Import your Civil 3D surface into a geodatabase as a terrain dataset or raster.
- 3D Models: Import your IFC, FBX, or 3D DWG files as multipatch features into a geodatabase.
- Geospatial Analysis:
- Perform visibility analysis, solar studies, flood simulations, and other spatial analyses leveraging the accurate 3D geometry.
- Combine your 3D models with other geospatial datasets (e.g., parcels, utilities, environmental data).
- Visualization and Sharing:
- Create compelling 3D scenes in ArcGIS Pro and publish them as web scenes to ArcGIS Online or ArcGIS Enterprise for broad access and collaboration.
- Develop custom web applications to share your 3D data with stakeholders.
- Export from Revit/Civil 3D to Compatible Formats:
The Power of Integration
This workflow, from Trimble X9 to ArcGIS, demonstrates the immense power of integrating reality capture with design and geospatial platforms. By seamlessly moving data between these specialized tools, you can:
- Improve Accuracy: Base your designs on highly accurate existing conditions.
- Enhance Collaboration: Share rich 3D data across different disciplines and software.
- Reduce Rework: Identify potential issues early in the design process.
- Streamline Workflows: Automate data transfer and reduce manual efforts.
- Enable Advanced Analysis: Leverage the full power of geospatial tools with realistic 3D models.
Embrace this powerful workflow and unlock new possibilities for your projects, from infrastructure development to detailed building information modeling and comprehensive spatial analysis. The future of design and geospatial intelligence is here, driven by precise data from the real world. Feel free to contact us on how we can help develop and maximize your workflows!
![]()
Leave A Comment