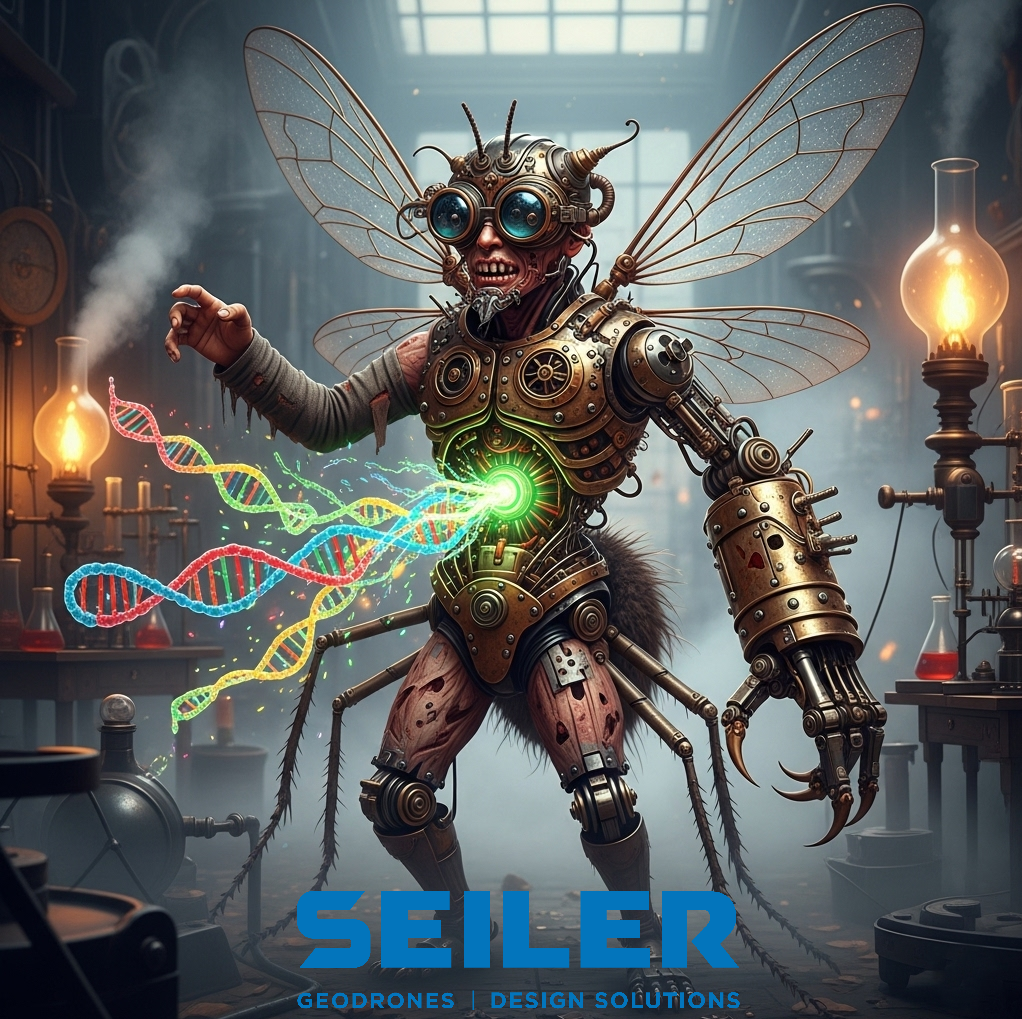
🧬✨Remember the cautionary tale of Seth Brundle and his fateful experiment with the teleporter? His desperate attempt to splice his DNA with a housefly resulted in a monstrous and tragic transformation. It was a chaotic, uncontrolled, and horrifying merger of two distinct entities.
But what if you could control the splice? What if the outcome wasn’t a grotesque mutation, but a breathtaking work of digital art? This is the power we wield when we splice the precision engineering of Autodesk Revit with the vibrant, theatrical capabilities of Autodesk 3ds Max.
Today, we’re going to become digital geneticists. Our experiment won’t lead to a Brundlefly, but to a mesmerizing, animated DNA helix—a controlled and beautiful splice of two powerful software platforms. Forget the telepod; our lab is the screen, and the only monster we’ll create is one that captivates an audience.
The Foundation: Creating the Genetic Code in the Revit Lab
In our digital genetic lab, Revit is the source of our perfect, pristine DNA. Its parametric precision is the blueprint for our design. We’ll open the Family Editor, our virtual petri dish, and begin to assemble the core structure.
The Helical Backbone: We’ll use Revit’s powerful Sweep tool to sketch the twin-strand helix, ensuring its form is perfectly controlled by Reference Planes and Parameters for Radius and Height. This is our perfect genetic code—clean, precise, and infinitely scalable.
The Base Pairs: For the connecting “rungs,” we’ll define a circular Profile and give it a Strand Diameter parameter. This ensures our helix is robust and ready for its dramatic transformation.
The Splice Preparation: Before we send our perfect model into the “telepod,” we’ll create the second strand with a simple 180-degree Start Angle offset. We’re not teleporting a single organism; we’re creating a perfect double-helix structure, ready for the next phase of our experiment.
Unlike Brundle’s accidental fly passenger, we know exactly what we’re splicing. We are intentionally linking the pure, unadulterated Revit geometry into 3ds Max, ensuring our “genetic” material is flawless from the start.
The Transformation: The Colorful, Pulsating Splice in 3ds Max
Now for the moment of truth! We take our perfect Revit helix and perform the great “splice” by Linking the Revit File into 3ds Max. This isn’t a destructive merge; it’s a dynamic link that preserves the integrity of our original design while unleashing 3ds Max’s full power.
The “Genetic” Mutation: Here, our DNA is no longer static. We’ll use the Material Editor to create a Standard Material and apply a Gradient Ramp. This is our creative “mutation,” a controlled alteration of the helix’s appearance. We’ll then use the Auto Key function on the timeline to animate the Offset of the gradient, causing the DNA to smoothly pulse with color. It’s a purposeful, beautiful, and mesmerizing change, the opposite of the horrific transformation that befell Brundle.
The Atmospheric Pod: Just as the telepod was filled with electricity and light, we’ll use Standard Omni Lights and atmospheric effects like smoke to create a moody, cinematic environment. Our helix will glow and pulse within a smoky haze, its new vibrant life on full display.
The Final Result: A Controlled Splice, Not a Catastrophe
The result is a testament to the power of a controlled, intentional splice. We’ve taken a precise, data-rich architectural model and merged it with the artistic freedom of a visual effects suite. Our creation is not a monstrosity but a beautiful, animated helix that tells a story—a story of intentional design and creative transformation.
In our digital world, the lesson from The Fly isn’t about the fear of the unknown. It’s about the mastery of the splice. By understanding our tools and controlling the process, we can merge disparate elements to create something entirely new and breathtaking. The only thing our experiment leaves behind is a spectacular animation, not a digital Brundlefly.
If you’ve made it this far and you’re still interested, here is our SOP on creating the Revit DNA Helix family and bringing it into 3DS Max, enjoy!
Standard Operating Procedure SOP-Creating a DNA Helix Family in Autodesk Revit


Leave A Comment