
Everyone uses AutoCAD in different ways. People use different commands in varying amounts. There are just some commands that I don’t like the fact that I have to click thru the Application menu to get to them. Here we are going to look at a couple ways to add or remove buttons, or just rearrange the Quick Access Toolbar.
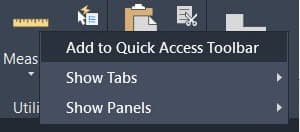
Autodesk actually made adding and removing items from the quick access toolbar very easy and that is the first option we are going to look at. One can actually just right click on a button that is on the ribbon and select “Add to Quick Access Toolbar”. Done. AutoCAD adds that command to the end of the existing toolbar. You can continue adding items. The items can be just a plain button, Flyout Buttons, or even dropdown menus like for the Layers.
You can add a Separator in the same way to separate groups of buttons or to space things out.
Unfortunately, you can’t just click and drag them to where you want them, but it is still pretty easy. Also, there are some commands that are a bit more difficult to get into the Quick Access Toolbar. For example: when you open the Application menu, you cannot add these to the toolbar in the same manner.
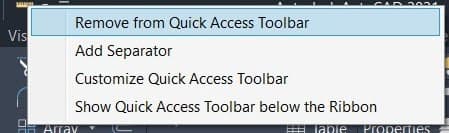
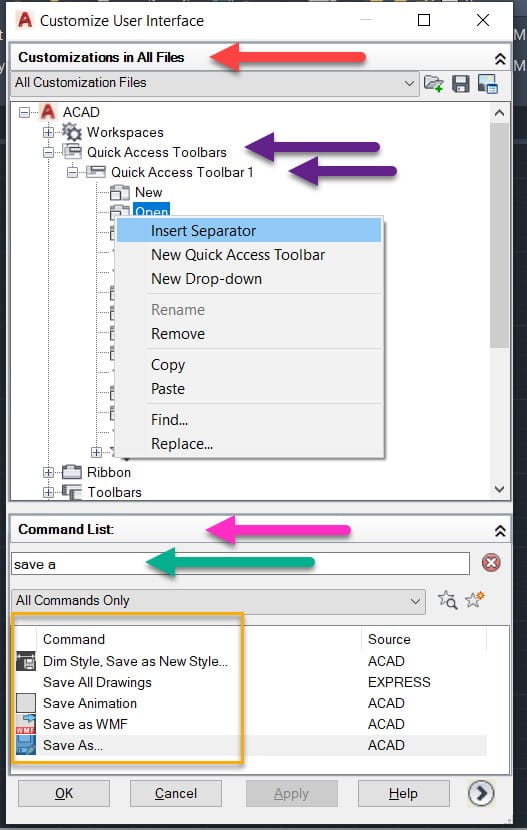
Right clicking on the Quick Access Toolbar, you will see “Customize Quick Access Toolbar”. Clicking on this will bring up the “Customize User Interface” (CUI) window. (You could also type “CUI” into the command line.) This is where you can add any command to the toolbar. When you open this window this way, the top portion will not be expanded, so just click the “Customizations in All Files” bar. Next you will need to expand the “Quick Access Toolbars” row and the “Quick Access Toolbar 1” so you can see your commands.
You can add more commands here as well. You can click and drag them from the lower portion of the window, the “Command List”. You can scroll thru the long list of commands or type in the search box to go straight to it.
In the top window of the CUI you can drag and drop the commands into the order you prefer. You can right click a command and select “Insert Separator” to insert a separator line below it.
Once you click “OK”, the box will close and you have successfully updated your Quick Access Toolbar.
I hope this helps to make your most used commands easier to get to using the Quick Access Toolbar.

Leave A Comment