
For those of you that use Pipe Networks in Civil 3D, sometime over the course of your career, you have probably needed to label a slope on a pipe based from the invert elevations at the inside face of your structures, instead of from the center (which is the default in Civil 3D), and have absolutely no clue how to go about creating a label style that will do just that.
Luckily, there is an easy way to accomplish this feat.
Most label styles in Civil 3D give you an option to use an expression in the layout of the label. An expression is simply a piece of programming code that can be evaluated and yields a result, based on the information it is given. Once we create an expression, Civil 3D will calculate the slope based on the length of the pipe, from the inside face of the structures, using the starting and ending inverts, thus calculating the true slope of the pipe.
To show you how it is done, let’s create an expression and a new label style.
Click on the settings tab on the toolspace. Scroll down and expand the Pipe node, the label style node and finally the Plan Profile node.
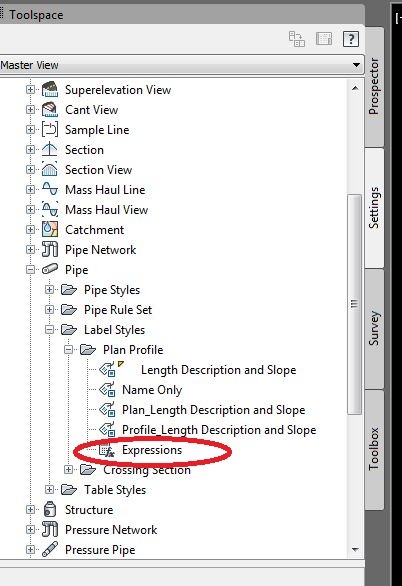
Right click on Expressions and choose new. When the expression dialogue box opens, type in a name for the expression, and a description if you like. Once you have named your expression, it is now time to create it.

By clicking the first button on the right of the function keys, a list of programming codes that you may pick from for the creation of the expression will open.
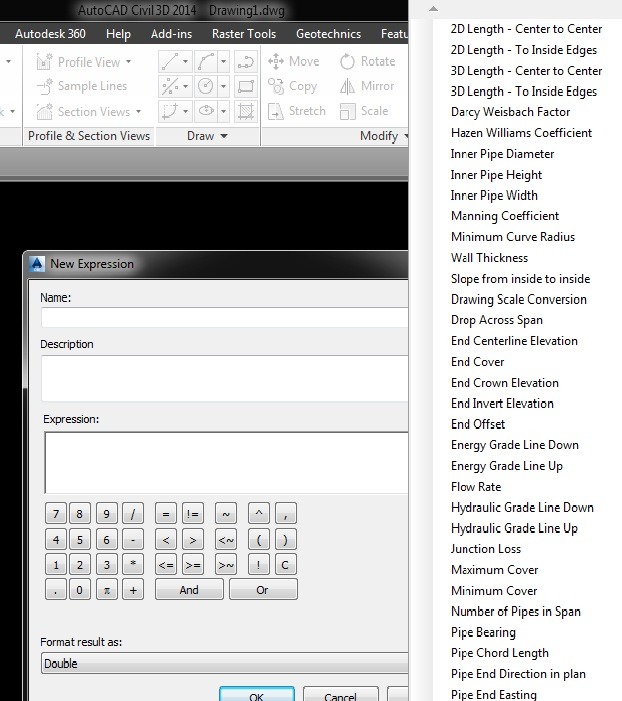
We will choose the functions needed from this list.
The expression needed for our pipe label will be created beginning with the starting invert elevation, then subtracting the ending invert elevation and then dividing the difference by the 2D length to the inside edges. Make sure to include the braces around the Invert elevation functions.
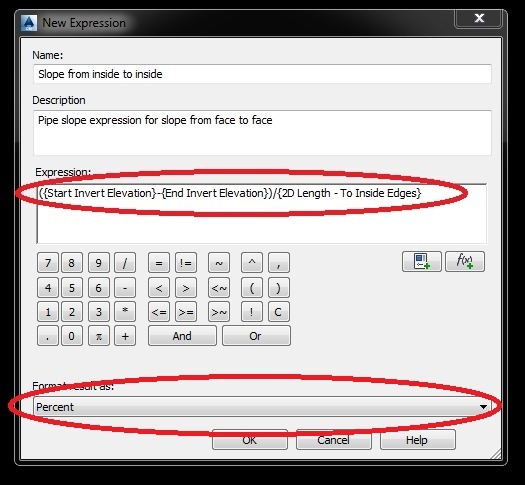
Change the Format result from Double to Percent, since the desired result needed is the slope.. Click OK.
Now, if you click on expressions in the toolspace, you will notice in your preview area, that the new expression is now listed. This shows that the expression was created.

Since we now have the expression created, the next step will be creating our label for our pipes. Right click on Plan Profile, under label styles, and select new. Under the information tab, give your new label a name and a description if you would like. Under the layout tab, click on the value tab of the text contents.
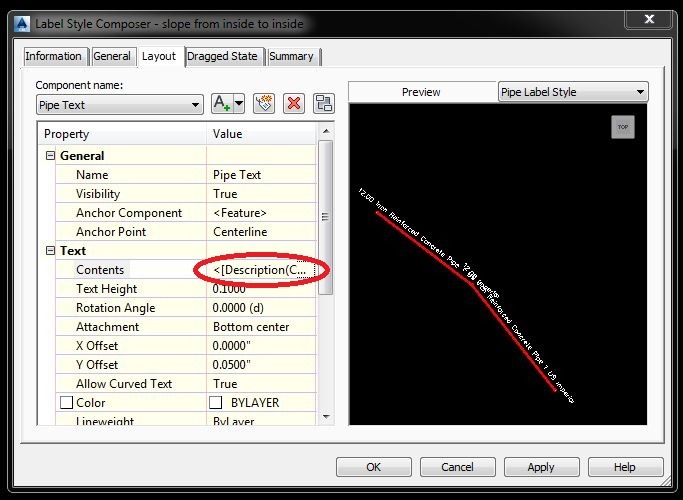
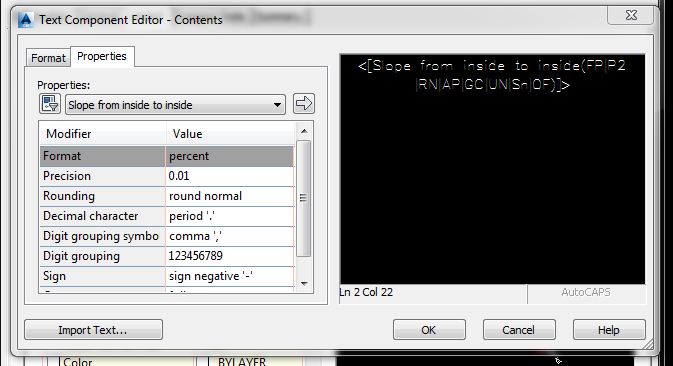
Once the text component editor opens, choose your expression in the list on the left. It should be listed at the top on the left. Set your precision to the value that you want, and then click on the arrow pointing to the right to update your contents. Click OK.
Your label is now ready to use, and will correctly label your pipe slopes from the inside of the structures, instead of center to center.
Just by taking a few minutes to create an expression and a new pipe label, you can save time by not having to hand calculate all the slopes. Your pipes will now be labeled correctly, and will automatically update if the network changes.
Any questions, please reply to this blog, or contact me at jcornelius@seilerinst.com.

Leave A Comment