
One common approach during Preliminary Design is Design Options, especially in Architectural firms. Project owners and designers will want to see some alternatives.
How the building will look in plan, section, and 3D view?
What if we move this wall over here?
What if we split this space into two separate spaces?
So how we do that in Revit?
Do we have to have a separate model for that?
No we don’t! Revit provides tools for developing design options within a single model. Its functionality allows you to create views that show each option so the designs can be compared. Once you settle on a design it can be set as the primary and added to the main model. Doing this will delete the other options that you won’t use. Here is the basic process I follow using design options:
- First you must have a main model that includes all the elements you need plus all the elements that will not be affected by the options. Elements in the main model are always visible by default. (Optional: You can create views to show each option separately and pull those views onto sheets.)
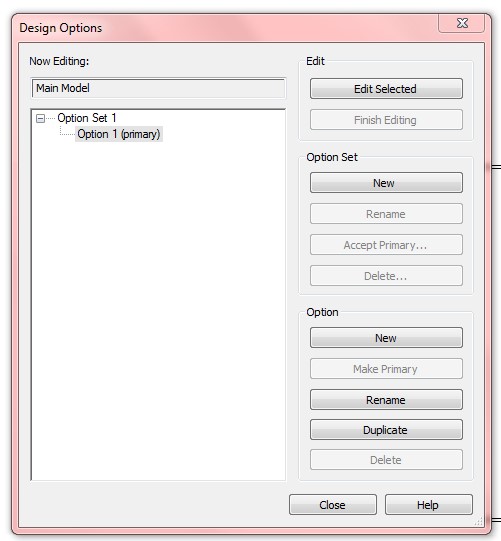
- Go to the Manage tab, Design Options Panel and select Design Options (also located at the bottom of your screen in the status toolbar). In the Design Options Window select New in the Option Set area to create a new option set. (it will automatically create one design option within the set)

3. Select New in the Options area of the window to create another option.
4. Start adding elements to one of the two options. (everything in the project is currently in the main model)
5. Select the element you want to add to the new option. While selected, go to Manage tab, Design Options panel and select the Add to Set button. The Add to Design Option Set window will appear. Check mark the option in which you want the wall to be shown, uncheck the one you do not want it shown in. 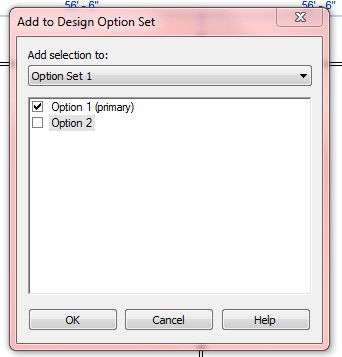 ***when the item is added to another option is becomes un-selectable within the main model.
6. Next you will want to add elements into each option, this is called Entering Edit Option Mode. Easily done by going to the Manage tab, Design Options panel and selecting the drop down list of Design Options. (notice that all elements in the other options no longer can be seen) 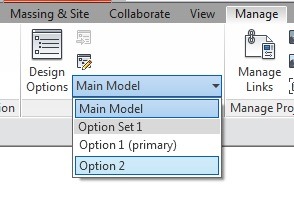
- Now that you are in Option 2, add elements for that Option. You can add, delete, and modify elements for option 2 in this mode. To exit the mode go to Design Options drop down list and select Main Model. (only the primary option will appear by default)
- Set up views. Since you created views to show the different options, you now need to set the visibility of that view to show the appropriate option. Go to Visibility Graphics (VG), Design Options tab, under Design Option select the drop down arrow and select the Option you would like to show in that view. This will lock the view to show only the Option selected. Then drag that view onto a sheet.

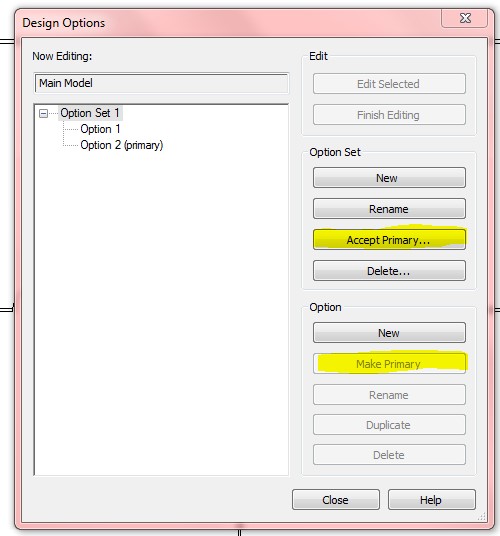
- After all Options have been considered and one selected you may want to delete the other options out of the model. To do this select Design Options (the dialog box will appear), select the option you want to make primary, then select Make Primary on the lower right under Option. Next go to Option Set and select Accept Primary.
10. Another window will appear with warnings and confirmations before completing the process. After deleting the options they will be permanently deleted from the model. Make sure you no longer need them before completing this step. 
Any questions, please reply to this blog, or contact me at [email protected].
Leave A Comment