
Creating section views inside Civil 3D for design plans is often a requirement for a project. This quick tutorial shows how to make sure you’re including your pipe network when creating a section view, or multiple sections views, by sampling pipe network data. If the project is a collaboration, and the pipe network needs to be added to section views after they’ve been created, you can also see how to add that pipe network to the section view(s) by sampling more sources in a few quick clicks.
How to Add a Pipe Network to Existing Section Views in Civil 3D
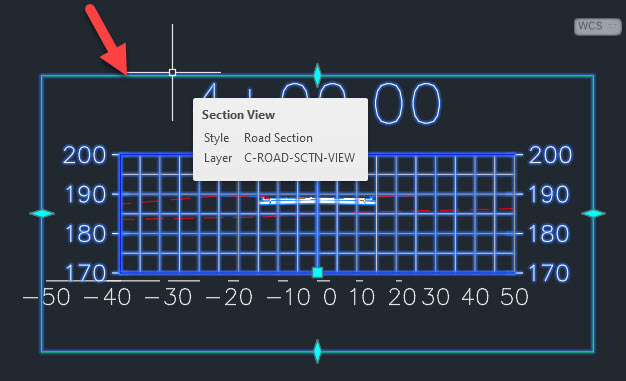
- Select Section View
- Go to Sample More Sources on the Modify Section panel in the Section View contextual ribbon that is shown once the Section View is selected

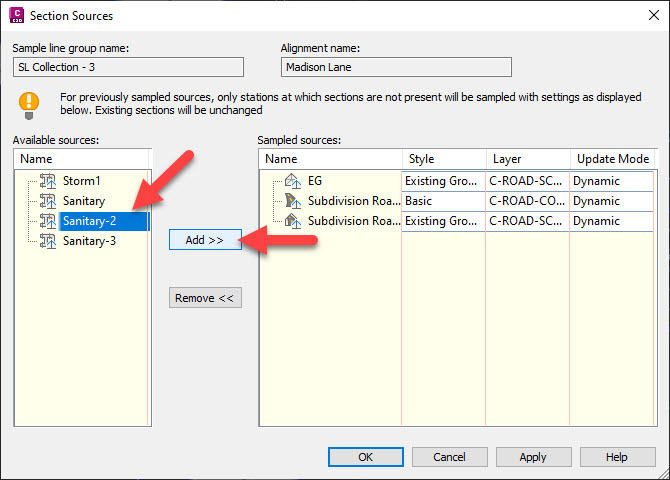
- Select the Pipe Network to be shown in the Section View, select Add. Select OK
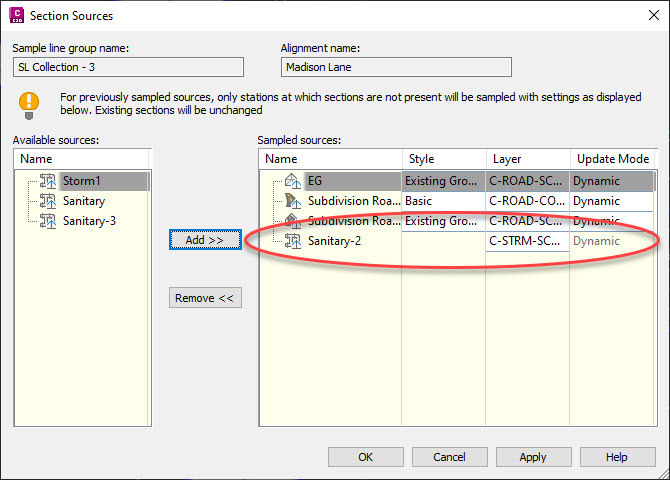
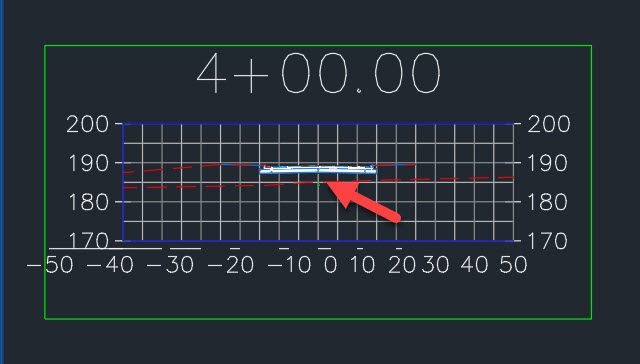
- The chosen Pipe Network data will now be sampled and shown in the Section View. Label as needed
How to Create Section Views using a Pipe Network in Civil 3D
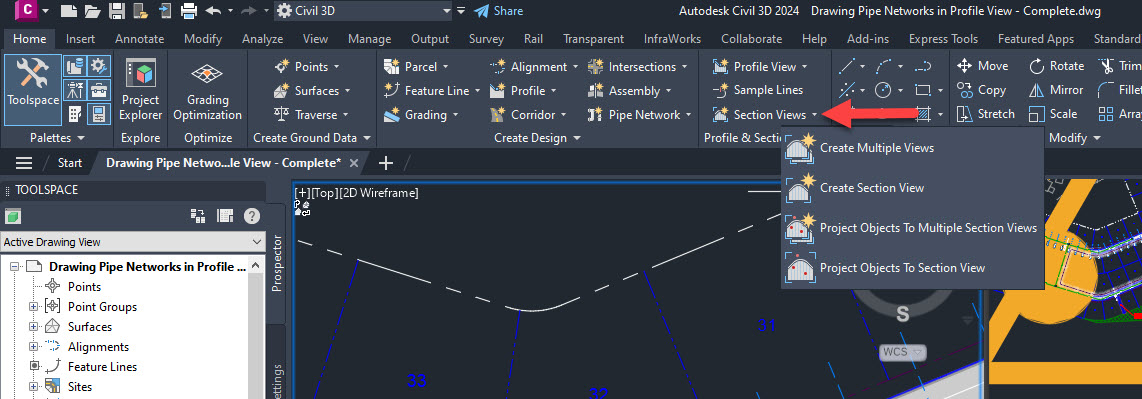
- After Creating Sample Lines , on the Home tab on the Ribbon, go to the Profile & Section Views panel –> Section View drop down –> Create Multiple Views
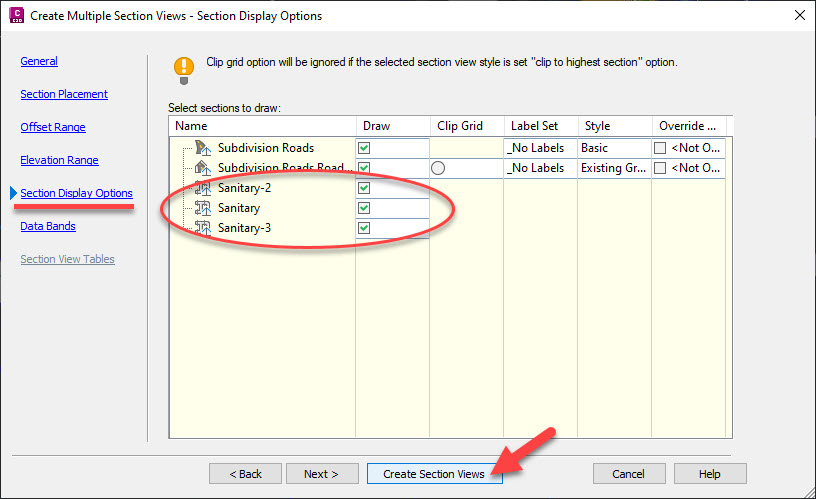
- Go to the Section Display Options and select the Pipe Network(s) to show in the section view and select Create Section Views button
- Select the origin point (lower left hand corner) of the Section Views inside the model space

- Zoom into the Section Views created and see the associated Pipe Networks projected onto the views. Label as needed

How to Edit which Pipe Network(s) shown in Section Views
- To edit the Pipe Networks shown in Section Views for both methods described above:
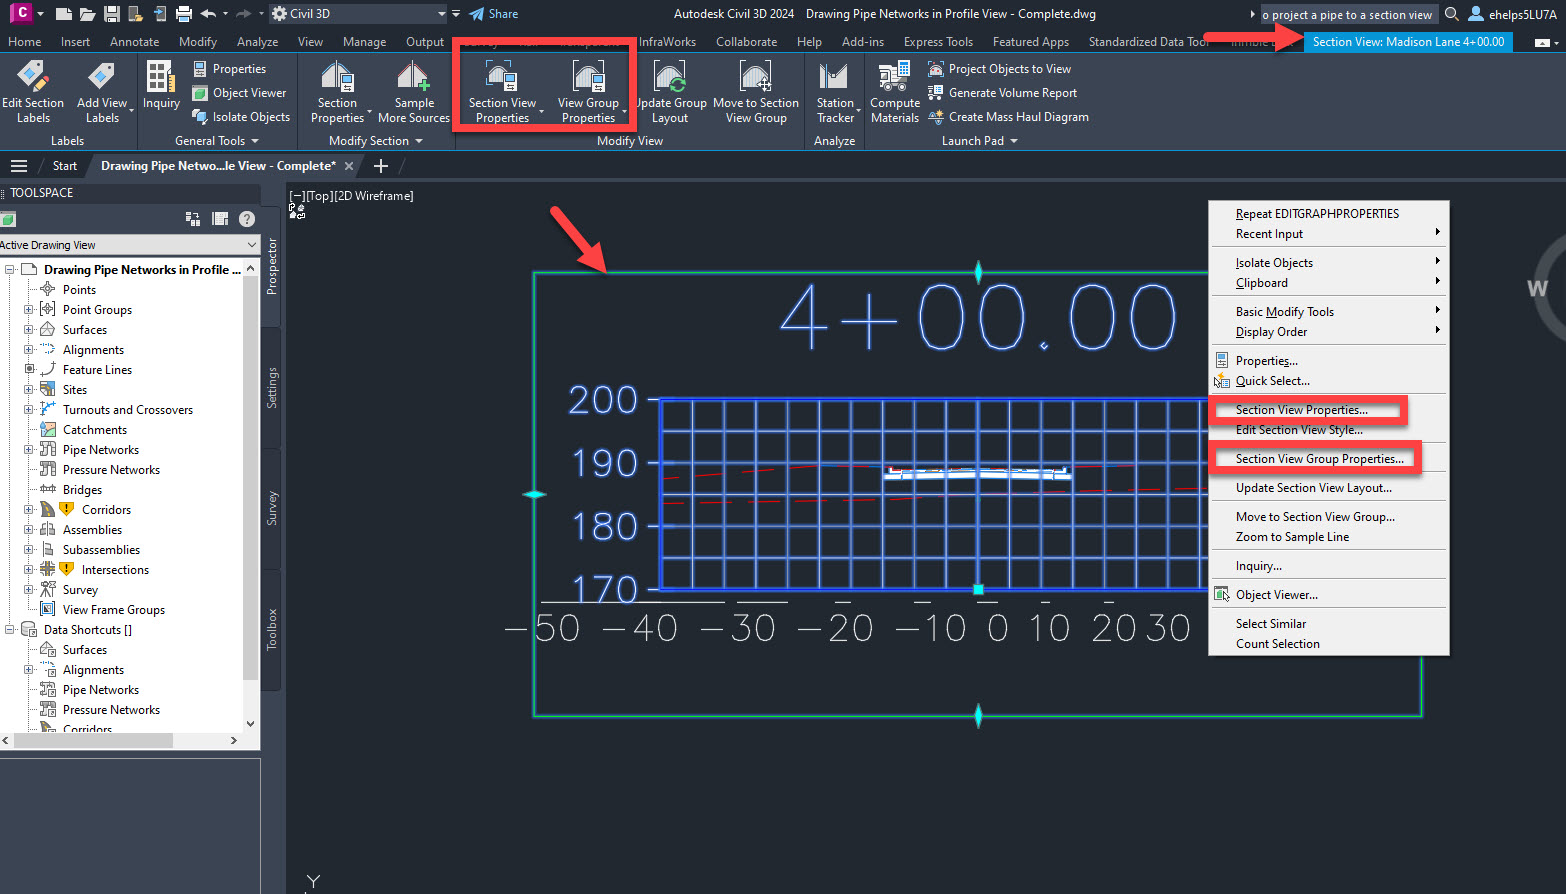
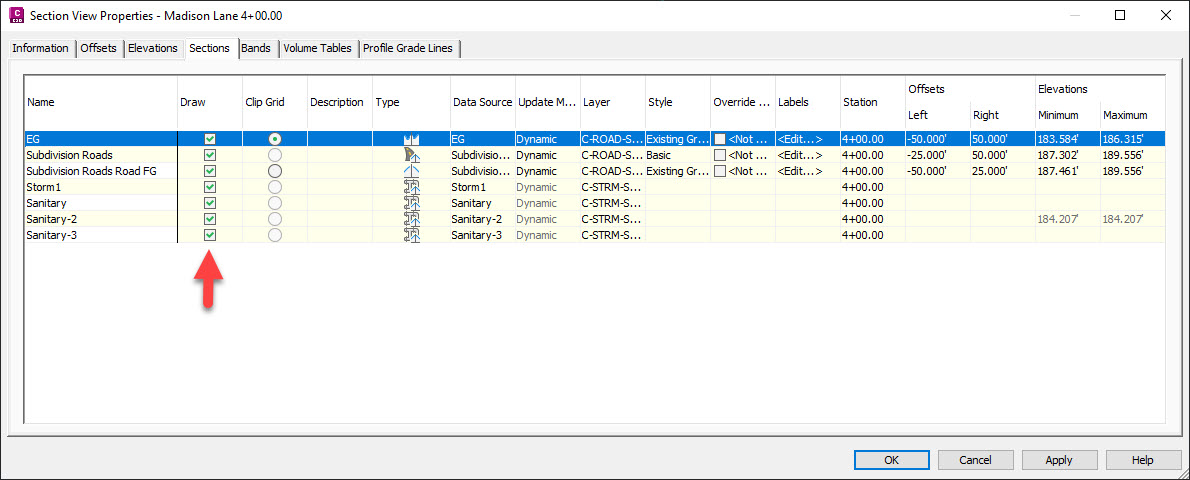
- In a single Section View, select a Section View –> Right Click –> Section View Properties
- Or select a Section View –> Section View contextual Ribbon –> Section View Properties
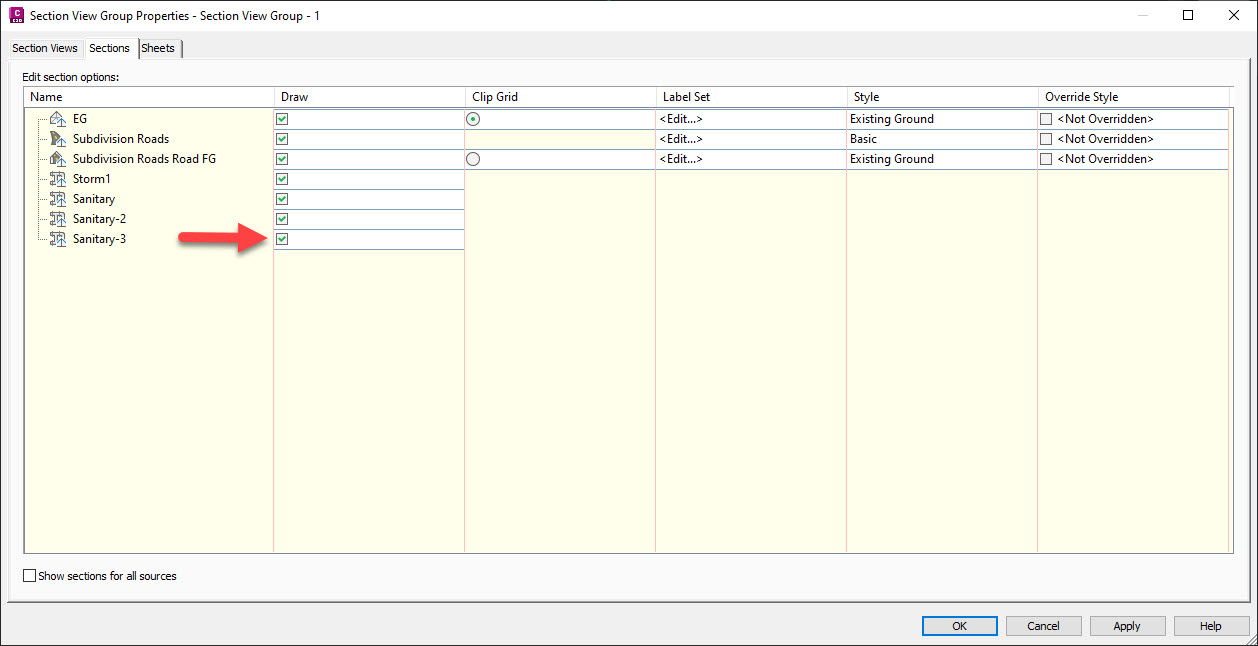
- For a Group of Section Views, select a Section View –> Right Click –> Section View Group Properties
- Or select a Section View –> Section View contextual Ribbon –> Section View Group Properties


Leave A Comment