![]()
Bluebeam Revu 21: Create a Stamp
Stamps can have many uses on Bluebeam Revu 21. They can have official uses, such as an official seal, as well as uses that are more functional, like that of an “Approval” stamp. Here, we will take a look at how easily a stamp can be created in Revu.
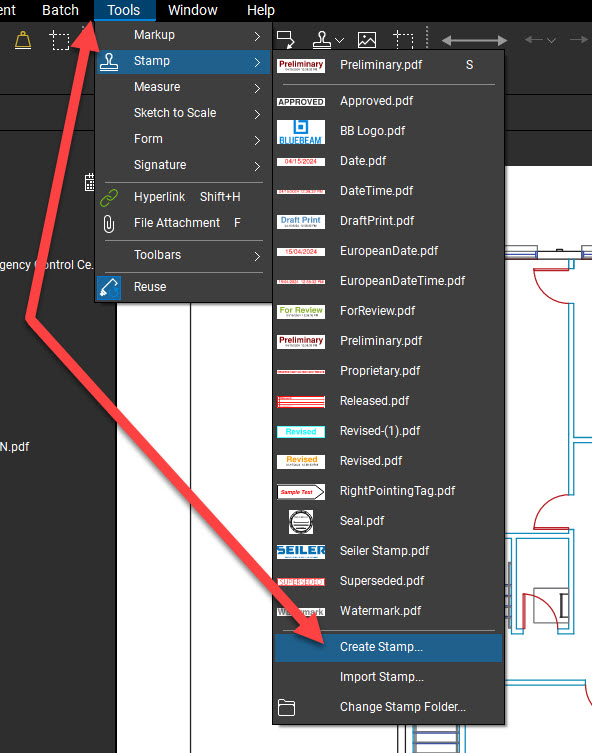
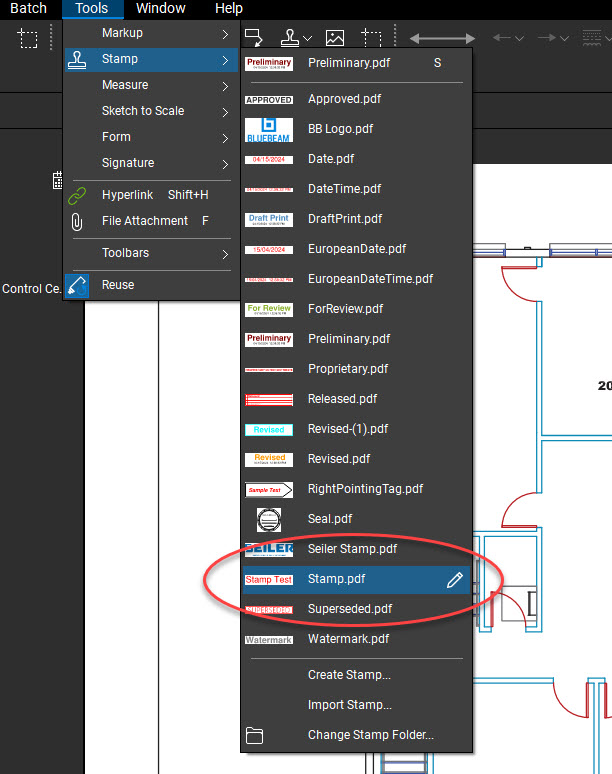
Begin by going to Tools > Stamp > Create Stamp
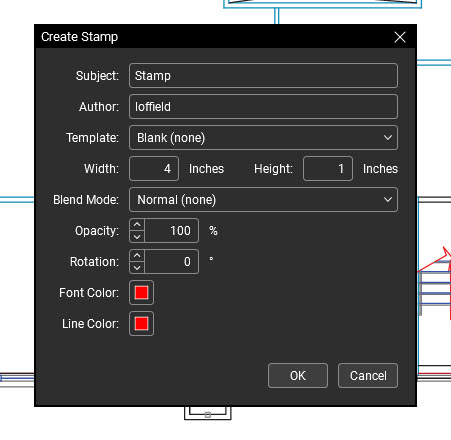
This brings up a dialog box where you can choose the name of the stamp, font and line color, and some other parameters.
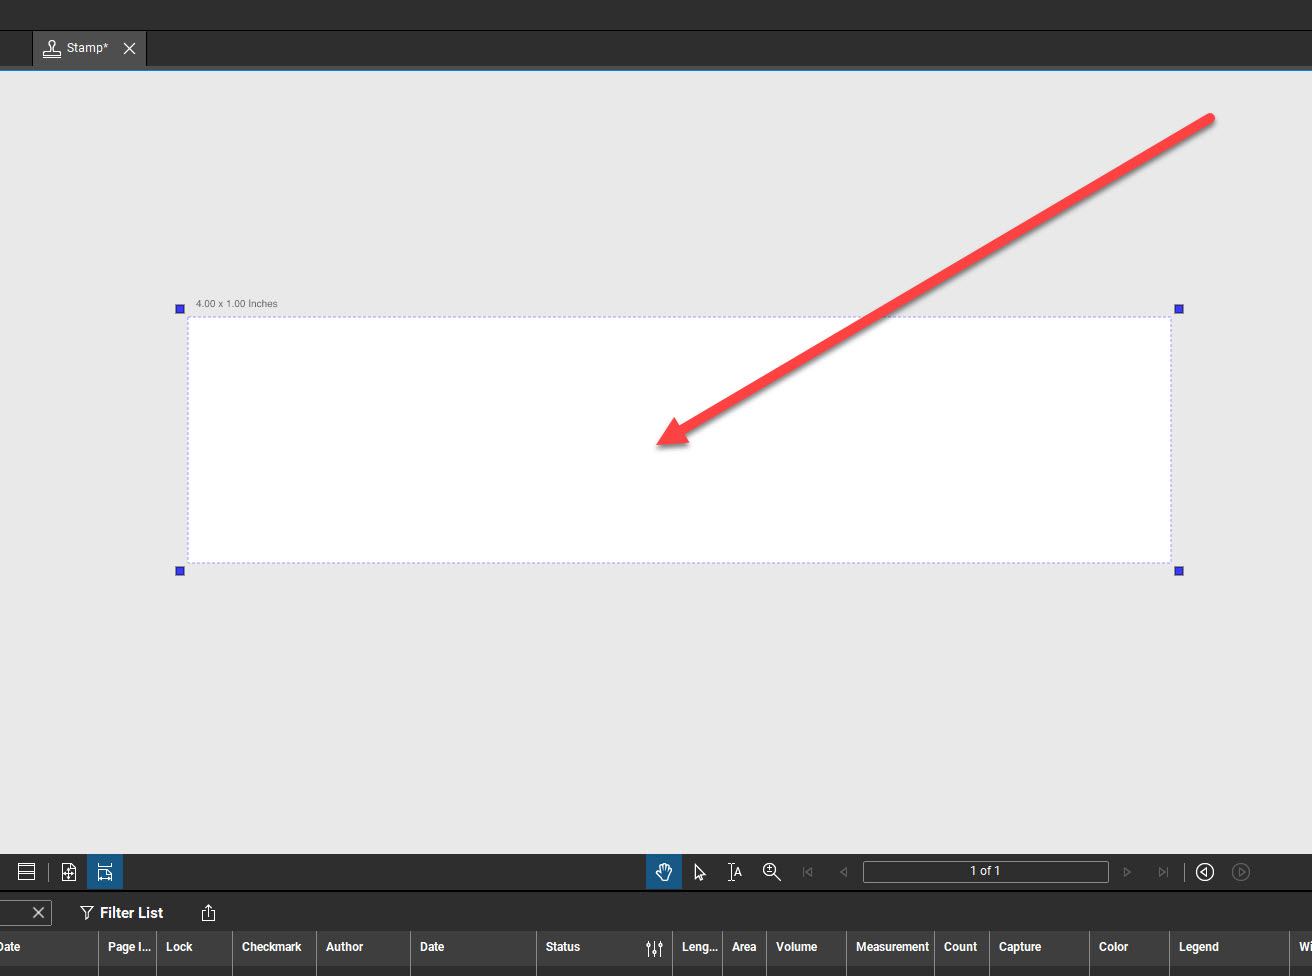
Once you click OK, you will be taken to the workspace where you enter in what will become your stamp.
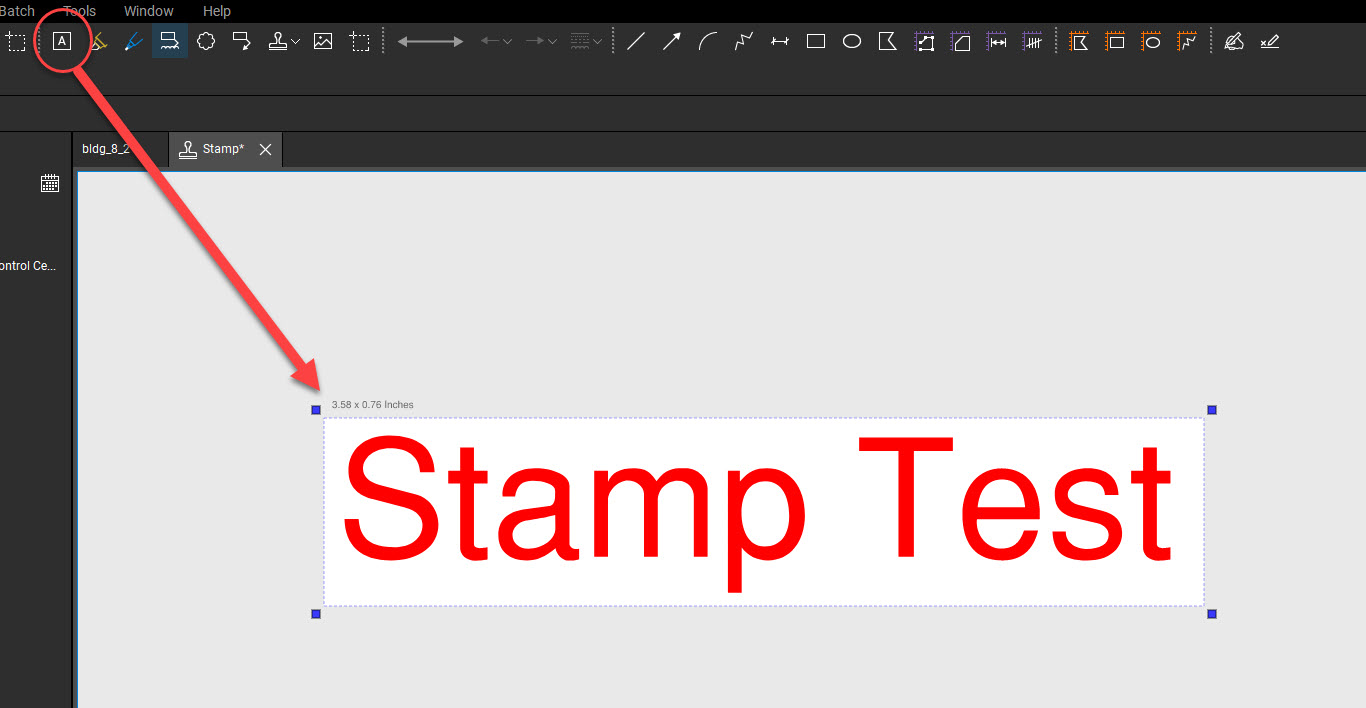
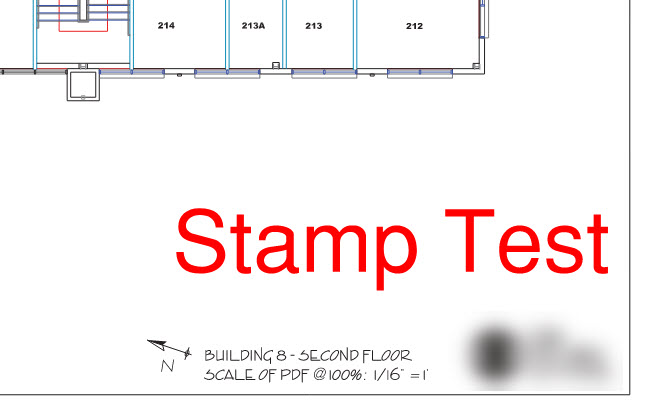
For this purpose, I will simply enter some text, using the Text Tool. I used the properties bar to change the font size, and then reduced the stamp window to fit it properly using the handles you see in each corner.
Once your stamp looks the way you want, you can go to File > Save or Ctrl+S to save it. Then, your new stamp is populated in the list of other stamps.
Once it is selected, you simply place it where you want. Then you can alter its size, orientation, or modify any other parameters via the Properties Panel.
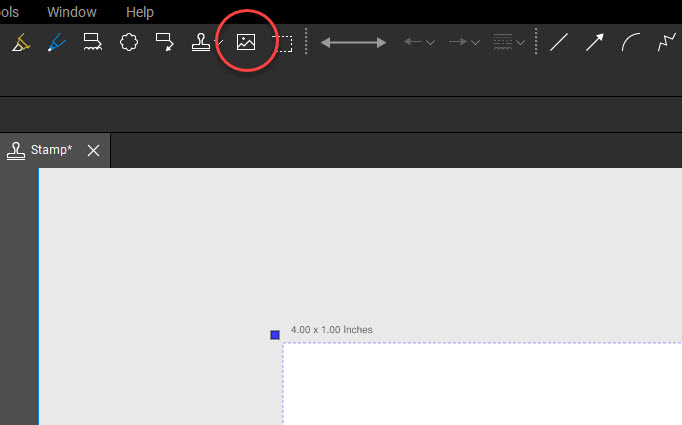
You can even insert an image to be used as a stamp. When you start to create a new stamp, just use the Insert Image tool and drop it into the stamp creation area.
Here, you can see that I have used our companies logo to create a new stamp. It’s just that easy!
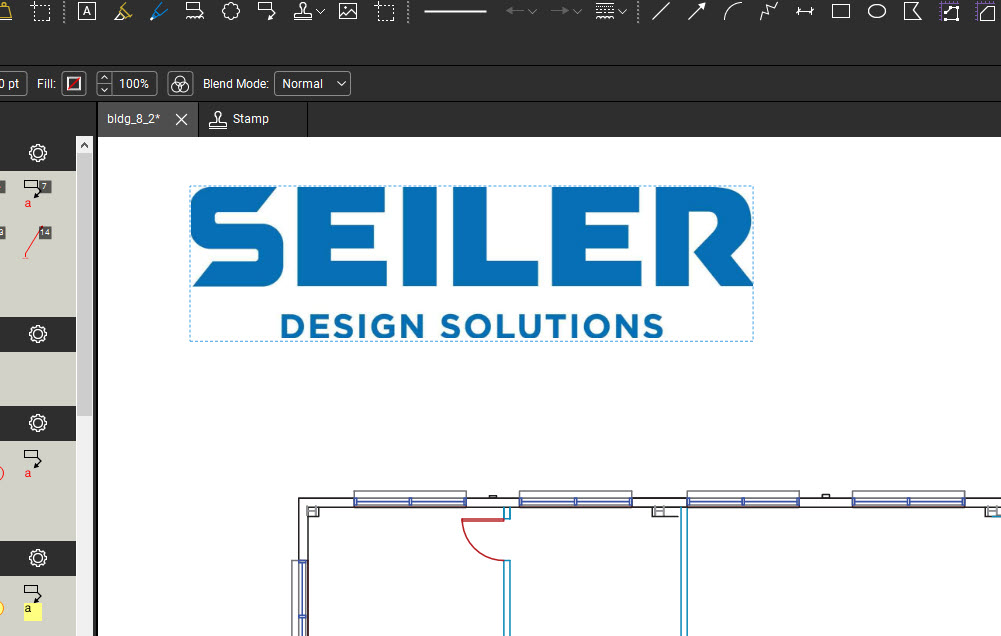
Stamps, as a tool, can be as varied and detailed as any tool used in Revu, and just as simple to use. I hope you found this information helpful.
-Luke

Leave A Comment