
Create Custom Markups in Bluebeam Revu 21
![]()
Hello everyone! Here’s a short video which shows how to create custom markup tools in Bluebeam Revu 21.
Also, here’s the instructions for reference as well:
To add a markup to the Tool Chest:
- Open a PDF drawing in Revu.
- Click the Tool Chest (Alt+X).
- In the PDF, right-click the markup you want to save, click Add to Tool Chest, and then select the name of the tool set.
Set custom markups as default
- Select a tool you would like to customize, such as the Text Box, Cloud, or Polyline tools.
- Right-click the markup, and select Properties (Alt+P).
- Adjust the tool properties, such as the color, line size, or font-size, to your liking.
- Go to the bottom of the Properties Panel, and select Set as Default.
The customized markup tool appears with the default properties you set.
Group multiple markups and add them to the Tool Chest
Markup tools in Revu can be grouped together, allowing them to be moved, resized, copied, and added to the Tool Chest as an individual markup.
- Press and hold the Shift key to select multiple markups.
- Right-click one of the selected markups and click Group (Ctrl+G).
- Right-click the grouped markup, click Add to Tool Chest, and then select the desired tool set.
Also note:
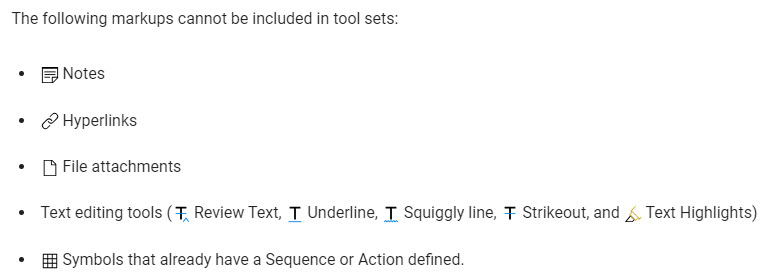
There’s a lot more to learn about customizing tools in Bluebeam Revu 21. You can read all about it RIGHT HERE.
I hope you found this information useful. As always, I appreciate you taking the time to check out our blog. Feel free to leave a comment or question!
-Luke
![]()
Be sure you read my post on the Bluebeam Revu 21.0.50 release!
AND this one on how to share custom tool sets!
Leave A Comment